My LAN Manager App

Windows 10

This app scans detected local area network and provides a graphical and list view of all detected devices.  Features include:
  • Detection of all devices that use an IP Address
  • Detection of devices conforming to Plug-N-Play (PnP), Bonjour, and Simple Network Management Protocol (SNMP).
  • Graphically viewing all devices in Map View
  • Viewing all device details in List View
  • Options for setting app options
  • Report Views
  • Uploading transparent images of your devices for use in List and Map Views
  • Setting detected device image for later viewing in List and Map Views, and Reports
  • Setting timers for when re-scanning should occur
  • Naming your network title for display
  • Configuring text messaging options for receiving alerts
  • Log file viewing

Select the MY LAN MANAGER tile in the Windows start menu to launch the application.
After the application finishes loading your will see the main application window as seen below. 

Note:
Disable any Virtual Private Network (VPN) applications prior to performing this next step.

Click the Load Devices button to began scanning your local area network (LAN) for all currently detected devices.

The device discovery feature will now start and you will be presented with the following message. Click OK to save the devices and begin host name resolution.

After all host names are identified (if they can be identified), the Bonjour detection feature will automatically start to help further identify the devices supported by the Bonjour protocol. The image below shows a sample result after both features have completed.

To further identify devices, click on the Options tab in the upper left of the application window to access more detection options.

In the Auto Rescan Settings group, click the check boxes next to the Enable Plug N Play (PnP) Rescan and the Enable SNMP Rescan choices. Then select 1 Minute from each associated drop down combo box.

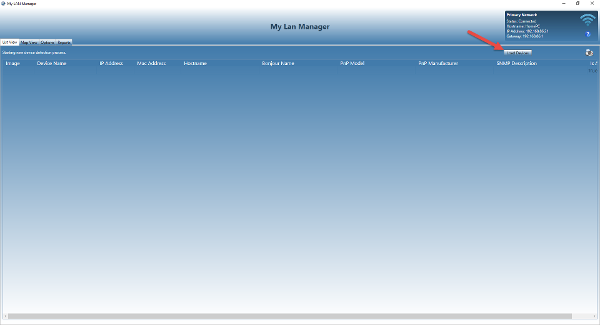
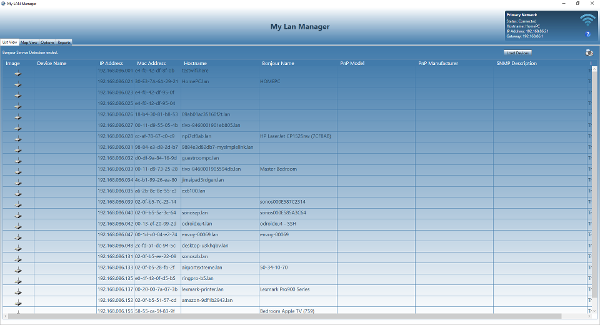
After a couple of minutes, and switching back to the 
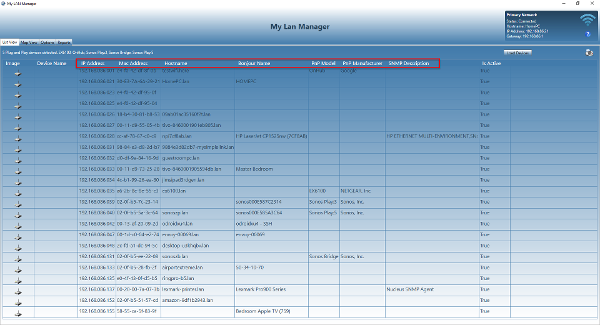
List View tab, you should now see more information about each device that can be provided by the applicable protocol (Bonjour, PnP, and SNMP). 

Note:
Not all devices are supported by Bonjour, PnP, and SNMP. Only devices
that are supported by these protocols are updated with there respective info.

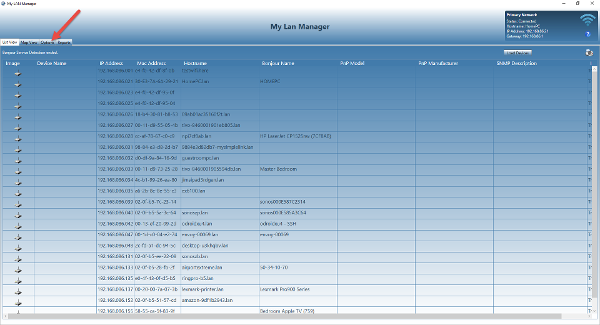
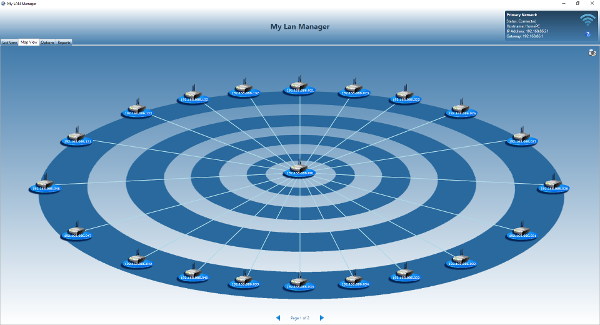
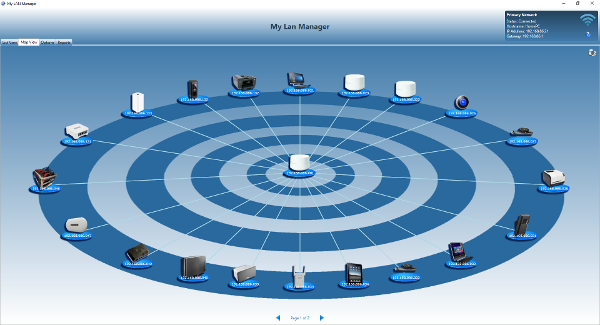
After viewing the contents of the List View, You can click on the Map View tab to see your devices in a graphical presentation. 

The Map View provides a graphical view of all your detected devices.

Note:
Not all devices are detected on the first pass. The Auto Rescan Settings group
in the Options tab provides the Receive New Device Detected Alert feature for
setting how often you would like to rescan your network for new devices.

At this time, we can now go get some transparent images to enhance our Map View with representative images of each device that we have on our network.

Note:
YouTube videos are a great resource for learning how
to create and save transparent images for use in this
application. Click here for a link to a sample video for
creating your images. Images should be square for best
results and no larger than 512 x 512 pixels in size.


Below is a sample folder of transparent images to use to attach to the associated device for viewing in the List View, Map View, and Reports.

Note:
It is best to name the files in advance as you would like the to 
see them when associated with it's respective device.

Click on the Import Device Images... button to open a file browser and navigate to the folder of transparent images that you created that represent each device in your network.

Select all the images you wish to use and click Open.
All selected images are imported and displayed in the Options tab for renaming, deleting, or adding new images for use. Click in the image name field to edit the name. Remember, you can save time by naming your files with the name you want to appear when imported.

While still on the Option tab, you can fill in the Text Message Options group information if you want to receive alerts when new devices are detected. Your email provider can help provide the SMTP server information but in most cases it it smtp.yourprovider.com.

Now we can begin assigning the uploaded images to the detected devices. Click back on the List View tab and select the first row device. On the right hand side is the Selected Device Info group which provides all information detected on the selected device. Below the group is a drop down combo box for selection of the associated device image that you want to assign to the selected device. After selecting the image, it will appear on the first column along with the device name in the second column in the List View. Continue selecting each device in the list, then the desired device image from the combo box.

After all device images have been selected, click on the Map View tab to see all your devices in full display in the graphical representation of your network. 

Note: 
The line color changes when the device cannot be pinged. This usually
occurs when the device is out of range, turned off, or hibernating.

The Reports tab provides printable tables of the devices, device images, and the log file.


Make a free website with Yola